BASEMENT WINDOW WELL GUIDE
Basements, by definition, are below ground rooms that traditionally were used for little more than storage. However, as more and more people are refurbishing their homes, the idea of an entire floor that is unused becomes more and more of a luxury. Instead, homeowners are converting basements into usable space – home gyms, TV rooms, guest rooms, or simply a living area. The major problem faced in these remodeling projects is the issue of natural light. Below-ground basements don’t tend to have large windows by virtue of the fact that they are subterranean.
The solution to this is installing a basement window well. These allow natural light to enter the basement so that the space becomes entirely more usable and pleasant. Once you get a window well there are a number of other factors you need to consider, such as which type of window well cover to use, how best to keep it safe, clean, and free from debris. However, in general, a basement window well makes a huge difference to your basement. Managing it is an essential part of ensuring your basement is a usable space.
This guide will walk you through all of the different features involved in maintaining a basement window well, from what they are to how to install them to how to maintain them. That way, you can decide whether they are the right option for you, and how best to look after them when they are installed.
WHAT IS A WINDOW WELL?

The first thing to understand is precisely what constitutes a window well. These are u-shaped, ribbed metal or plastic products you can buy in most hardware stores. The idea behind these is that you dig a cavity around a designated spot in your basement. Using the window well to hold back the dirt, you place the window well against the side of the basement. This allows you to then install a window in your basement below ground level. The window well protects the basement window from being covered by dirt and lets natural light enter your basement.
Window wells also have the benefit, in some cases, of providing an additional egress in case of emergency (this is not true of all basement windows, so if this is your intention, make sure to choose a window option that is designed for emergency egress).

Window wells are also important when it comes to providing drainage for your home. If they are properly installed, they will cause water to run away from your property and absorb into the earth further away. This is important in helping to prevent water from pooling around your foundation – a major potential cause of damage to the structure of your home.
A window well, therefore, has a lot of benefits to your home and your yard. However, these benefits are only felt if they are properly installed. For that reason, it’s usually advisable to hire a professional to install them. If you do it incorrectly, you may be causing major structural damage to your home.
HOW TO INSTALL WINDOW WELLS

As mentioned above, you will almost certainly need some form of professional help in order to ensure that you are able to safely and securely install window wells. Although it will be possible for an amateur to undertake some part of the work – thereby cutting down on the overall labor costs – because improper installation will jeopardize your home’s foundation, as well as potentially remove an emergency egress location, it is far better to have a professional complete the work.
A further benefit of using a professional is that they will be able to check the local building codes. There are a lot of regulations pertaining to:

Basements

Foundations

Drainage

& Egress
With this, there are a lot of rules relating to basement window wells. You’ll need to follow all these rules or you may be ordered to undo all your work.
THE COST TO INSTALL A WINDOW WELL
The average cost of professional window well installation is between $550 – $2,200. However, this range can shift depending on the size, scope, and difficulty of your specific window well needs.
The steps that they will follow are listed below.
It will be possible for you to complete some of these steps yourself, which will save you labor, and therefore money. The below steps assume you already have a window installed in your basement:
1
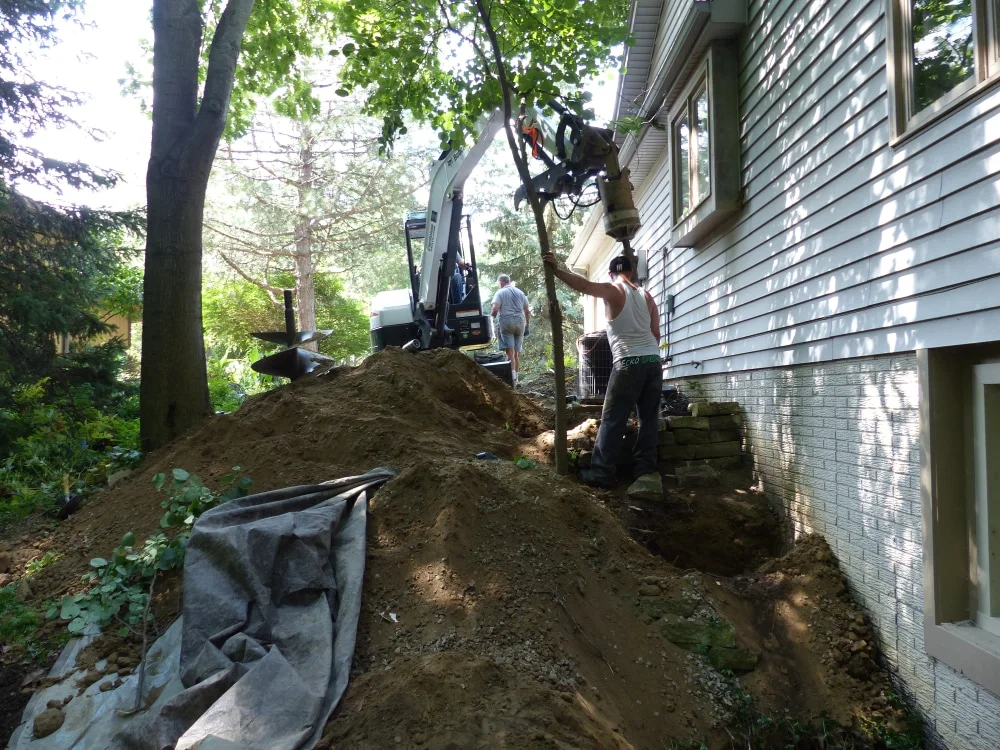
Begin by digging an area around your basement window.
This area can be either square or semi-circular – you should use the shape of your window well as a guide. You should take care when digging to avoid breaking the basement window, as the edge of a shovel can very easily crack or even shatter a pane of glass. Dig the well to be six inches deeper than the bottom of the window.
2
In the six-inch cavity at the bottom of the wall, place gravel.
This gravel will help drain the water into the soil without it pooling around the base of the window. If you live in an area of particularly heavy rain, you can look at installing a French drain under the gravel.
3
Place the window well into the correct position.
The well should fit snugly around the window. If needs be, you may need to increase or decrease the size of the cavity. The window well should fit exactly to the size of the hole and the window. If it is improperly fitted, then the soil will be able to sneak around the side or over the top. If this happens, the first time it rains, the soil will clog up the drainage system you have installed at the bottom, and your window well will fill with water, potentially leading to cracked glass and a basement full of water.
4
Place a grate on top of the window well.
This grate will keep out leaves, debris, snow, and even animals that may fall down (because no one wants the view from their basement to be a decaying rat).
HOW A WINDOW WELL DRAINAGE SYSTEM WORKS

A big part of the overall function of a window well is to let light into your basement – a secondary function is to help with drainage. If your window well fills with water, it can cause major damage to your foundation. As such, it’s important to get the proper drainage installed. The gravel at the bottom should allow water to seep through quickly and efficiently. Water shouldn’t pool at the base of your window for obvious reasons.
There are two main drainage options for window wells:

EXTERIOR
Connecting the well to an exterior perimeter drain (or a French drain). These types of drains run the water away from the house. This is then routed to the city drainage system.
INTERIOR
Connecting the well to an interior drain. These types of drains are less common, but involve a pipe running along the foundation of the house. The water is then collected in a sump pit. When the sump pit is full, the pump activates and pushes the water through a pipe that then goes out into the yard and into the city drainage system.

HOW TO MAINTAIN YOUR WINDOW WELLS

Window wells require a lot of upkeep. Because they are at ground level, it’s extremely easy for them to accumulate leaves and other debris like twigs, garbage, or grass.

As such, you should aim to clean your window wells every six months: usually at the end of the spring and the end of the fall. Failure to upkeep your window wells may result in your insurance company denying a claim. You can do this at the same time as you clean your rain gutters.
FIRST, GET LARGE DEBRIS
Clear out leaves and debris (beware of spider webs – it’s best to wear thick gloves).


WASH WINDOW
Wash the window and ensure it is clean and free from streak marks.
CHECK THE BOTTOM
Check the gravel at the bottom is still loose (i.e. not compacted). If it’s winter, clear out any snow from the bottom.


TEST DRAINAGE
Check the drainage system. In the winter, you should pour down boiling water in order to thaw out the pipes and ensure there’s no ice blocking the drainage.
One of your first decisions when it comes to window wells is to ensure they are safe. Window well covers are your front line in this respect. Choose wisely – covers made from polycarbonate are 200 times stronger than covers made from polyethylene. They are also far better at resisting temperature change without expansion.
If you are installing window wells yourself,
you need to make sure they are up to code – again this is an issue of safety. The International Code Council states that any covers have to be able to withstand a load of 40 lbs per square foot. For this reason alone, it may be better to hire a professional to do the job for you. Whatever you choose, the more information you have, the better.
After all, if you can turn your basement into a usable space, you’ll be improving your quality of life, boosting the value of your home, and generally making your home a better place. So get researching and you’ll be up and running with the home of your dreams before you even know it.