


Regional Foundation Repair
Grounded in Customer-First Service
What Can We Help You With?
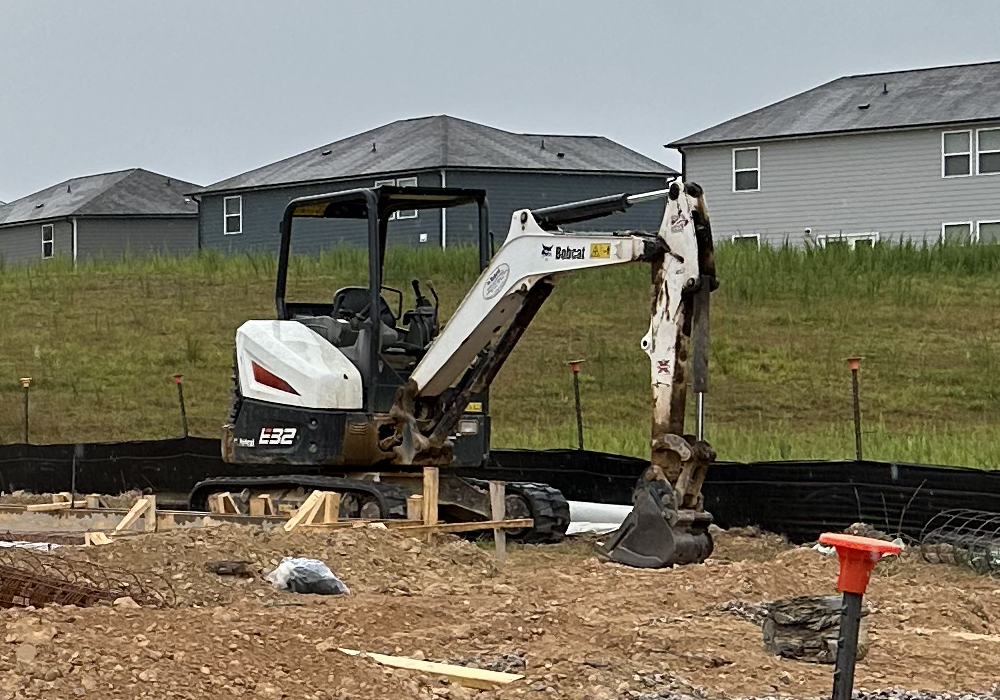
Foundation Repair
From cracks to slopes to major repairs, our team of foundation experts are here to help. There’s no job too big or too small.
VIEW ALL
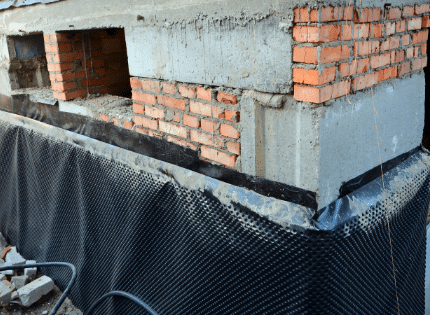
Basement Waterproofing
We offer comprehensive waterproofing services to keep your basement dry and worry-free.
VIEW ALL
Sump Pump Installation
If you need a sump pump installed or repaired the right way, we’re here to help.
VIEW ALL
Mudjacking
If your settled concrete needs to be raised and stabilized, our team of mudjacking experts are the ones to do it.
VIEW ALL
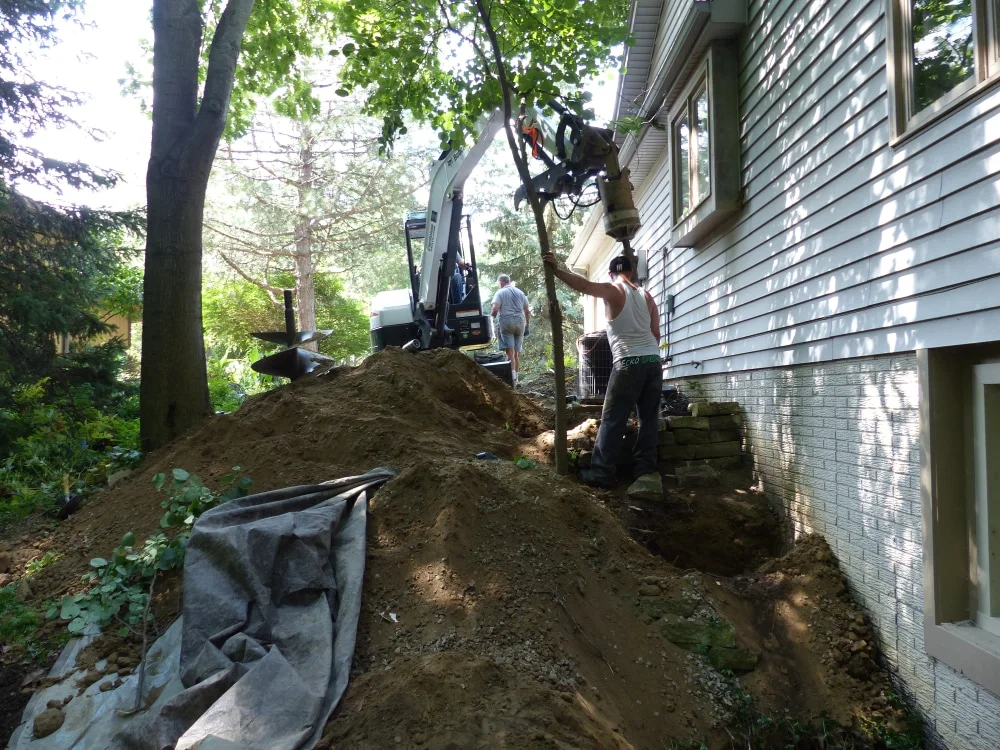
Crawl Space Encapsulation
If you’re dealing with moisture in your crawl space, contact us to get a free estimate for your custom solution.
VIEW ALLWho We Are
We started Regional Foundation Repair in an effort to demystify and simplify foundation repair. We know firsthand how frustrating it can be to hire a contractor to repair what is likely your biggest asset, only to be disappointed in the workmanship and the peace of mind provided.
We began assembling a team of dedicated foundation specialists who were truly knowledgeable and cared about providing amazing service. Today, we help homeowners across the country get affordable, permanent, guaranteed foundation solutions to keep their homes and families safe and comfortable.
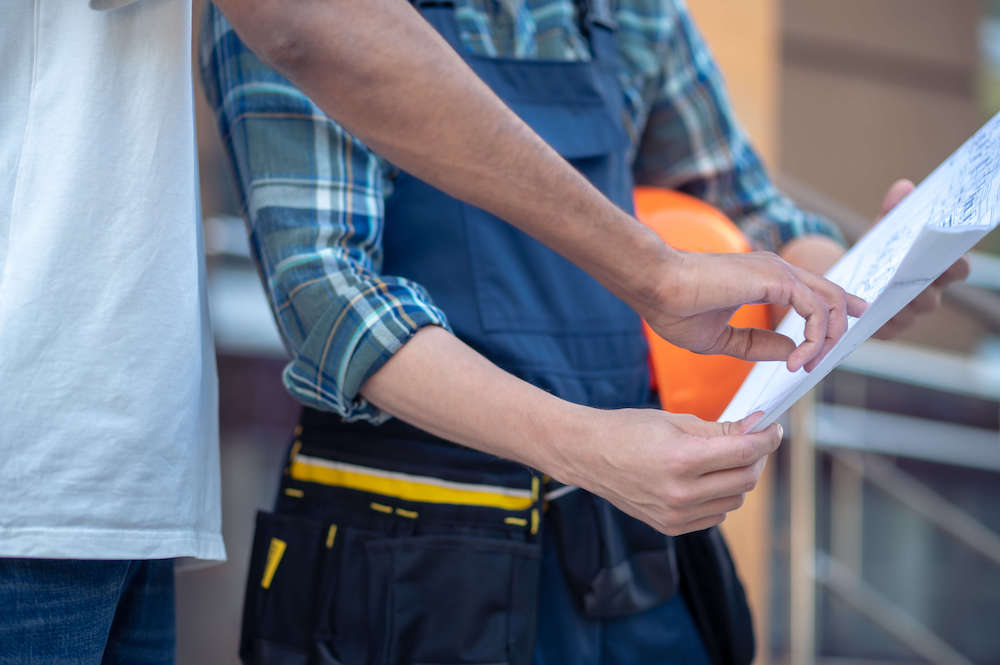
A local expert will inspect your foundation to determine the cause of the issue and the best solutions, free of charge.
We’ll develop a plan based on the specific issue, the underlying cause, and all of the factors specific to your home and property. We’ll make sure you understand the work we do and why we do it.
We provide our top-tier service from start to finish: the best people delivering you the best results.
We’re passionate about helping homeowners and want you to have the best experience possible. We strive for great communication, fast service, and trust between our team and the neighbors we serve.